Would you like to browse our deck tile products and accessories?
Are you planning for a low-budget upgrade of your rooftop, terrace and ground-level patio without damaging the surface underneath? Do you want to build a weatherproof deck that stays strong for years and needs very little maintenance? Then this is something you should explore, as it gives you a practical way to renovate your outdoor spaces without heavy construction. Nowadays, floating decks are becoming a popular choice for many homeowners in Canada as they are easy to install. These decks offer a clean and raised surface that sits above the base without drilling or permanent fixing. Floating decks are designed in such a way that they allow proper drainage and airflow, which prevents water buildup and surface damage over time. Let’s further explore more about floating decks, advantages, product features, tile flooring and step-by-step guide.
What are Floating Decks?
If you are looking for a flooring solution that is durable, easy to install, and does not damage the surface underneath, then floating decks are the best option. These decks are designed as raised platforms that sit on a support system instead of being fixed directly to the ground or base surface. They create a small gap between the deck and the surface below, which allows proper airflow and smooth water drainage. Such design of floating decks helps homeowners in protecting the base from moisture, cracks, and long-term damage.
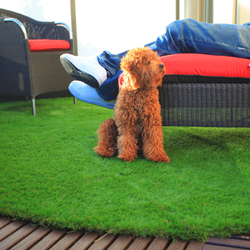
Floating decks are commonly used on rooftops, terraces, and ground-level patios where drilling or permanent fixing is not suitable. With the use of deck tiles or boards placed over a stable sub-structure, floating decks provide a clean, modern, and practical flooring solution that works well in different weather conditions. Now that the basic concept is clear, the next step is to understand what makes them such a valuable choice for modern outdoor spaces.
Understanding Various Advantages of Floating Decks
Floating decks bring together functionality and flexibility in a way that suits different environments. One of their biggest strengths lies in how they manage water. The gap between the deck and the surface allows rainwater to flow directly toward drainage systems. This reduces the chances of moisture buildup, mildew, and surface damage over time. Here are the other advantages listed below:
1. Natural Gap for Proper Drainage
Floating decks create a small space between the deck and the surface below. This gap allows rainwater to flow freely toward drainage points, helping to prevent moisture buildup, mildew, and water pooling that can cause damage over time.
2. Easy Access for Utilities
The raised structure provides enough space to run electrical wires, pipes, or irrigation systems underneath. This helps in keeping everything hidden while maintaining a clean and uncluttered surface above.
3. Cost-Effective Solution
Compared to traditional fixed decks, floating decks require less construction effort. This makes them a budget-friendly option while still delivering durability and a neat finish.
4. Custom Built as per Site Needs
Floating decks can be designed and installed according to the exact size and layout of the space. This flexibility makes them suitable for different types of rooftops, terraces, and patios.
5. Variety of Surface Finishes
With Designer Deck, you get access to a wide range of surface finishes that suit different styles and needs. Options like composite boards, natural wood finishes, and thermally treated materials allow you to choose a look that matches your outdoor space while ensuring durability.
6. Suitable for Low-Height Requirements
These decks can be built as a low-profile structure, making them ideal for areas with height restrictions. They fit well in low-rise residential buildings where space planning is important.
Moreover, as a trusted supplier of deck tiles across Canada, Designer Deck provides floating deck systems with up to a 25-year warranty, making them a reliable choice for long-term outdoor use.
Highlighting Key Product Features of Floating Decks
Floating decks are built with a strong and simple system that makes them stable and long-lasting for outdoor use. These are made by using:
- Strong sub-frame connected with deck screws for better strength
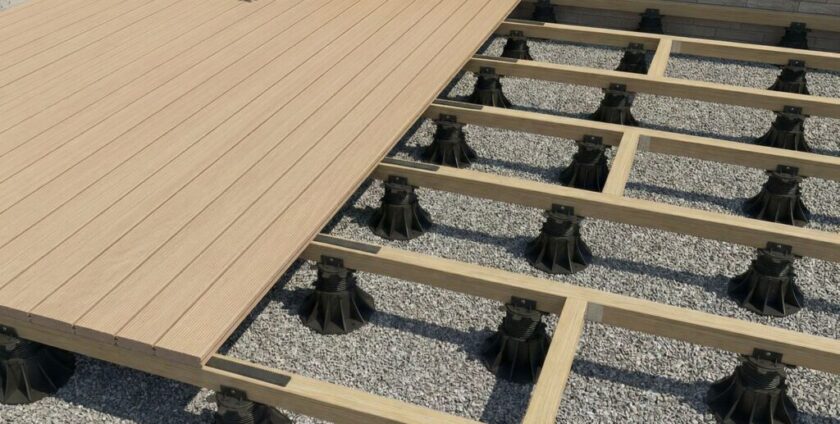
- Adjustable floating deck pedestals are used to keep the deck level on uneven surfaces
- Option to use dense foam blocks where pedestal support is not suitable
- Even weight distribution for a stable and balanced structure
- Materials specially made for outdoor conditions
All the above features make sure the deck stays steady, handles different weather conditions, and works well on rooftops, terraces, and patios without causing damage underneath. You can lay floating decks in outdoor spaces such as rooftop, terrace, and patios.
Outdoor Spaces Where Can You Use Floating Decks
Floating decks are a smart choice for outdoor areas where the surface needs protection and fixing is not possible. They can be designed based on the space, making them suitable for different types of outdoor settings.
1. Rooftops
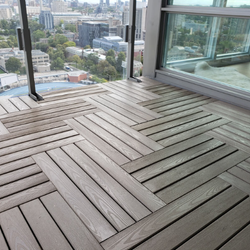
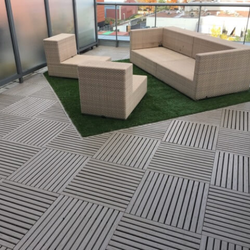
Floating deck over flat roof work well as they do not require drilling, which helps protect the waterproof layer. For these spaces, composite deck tiles or thermally treated wood tiles are a good choice as they handle weather changes and provide a clean, modern finish.
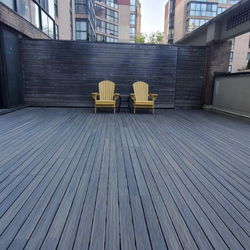
2. Terraces
On terraces, floating decks help maintain the surface while improving usability. Materials like Alaskan Yellow Cedar or composite boards are commonly used here as they offer both durability and a refined look suitable for semi-covered spaces.
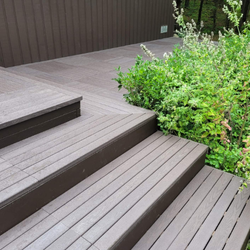
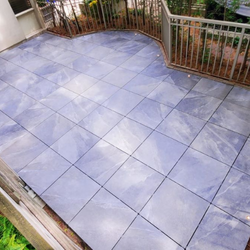
3. Ground-Level Patios
For ground-level patios, floating decks are useful on uneven surfaces where permanent fixing is not required. Pressure treated pine or composite tiles are preferred in these areas as they provide strength and stability for daily use.
With the right material and design, floating decks can easily adapt to any outdoor space while keeping the surface safe and functional. Further, top materials are described that are used to build floating decks.
Durable Tile Flooring Used in Floating Decks
For durable floating decks, choosing the right materials plays an important role. As each layer of the framework is selected based on strength, finish, and how it handles outdoor conditions.
1. Surface Deck Boards
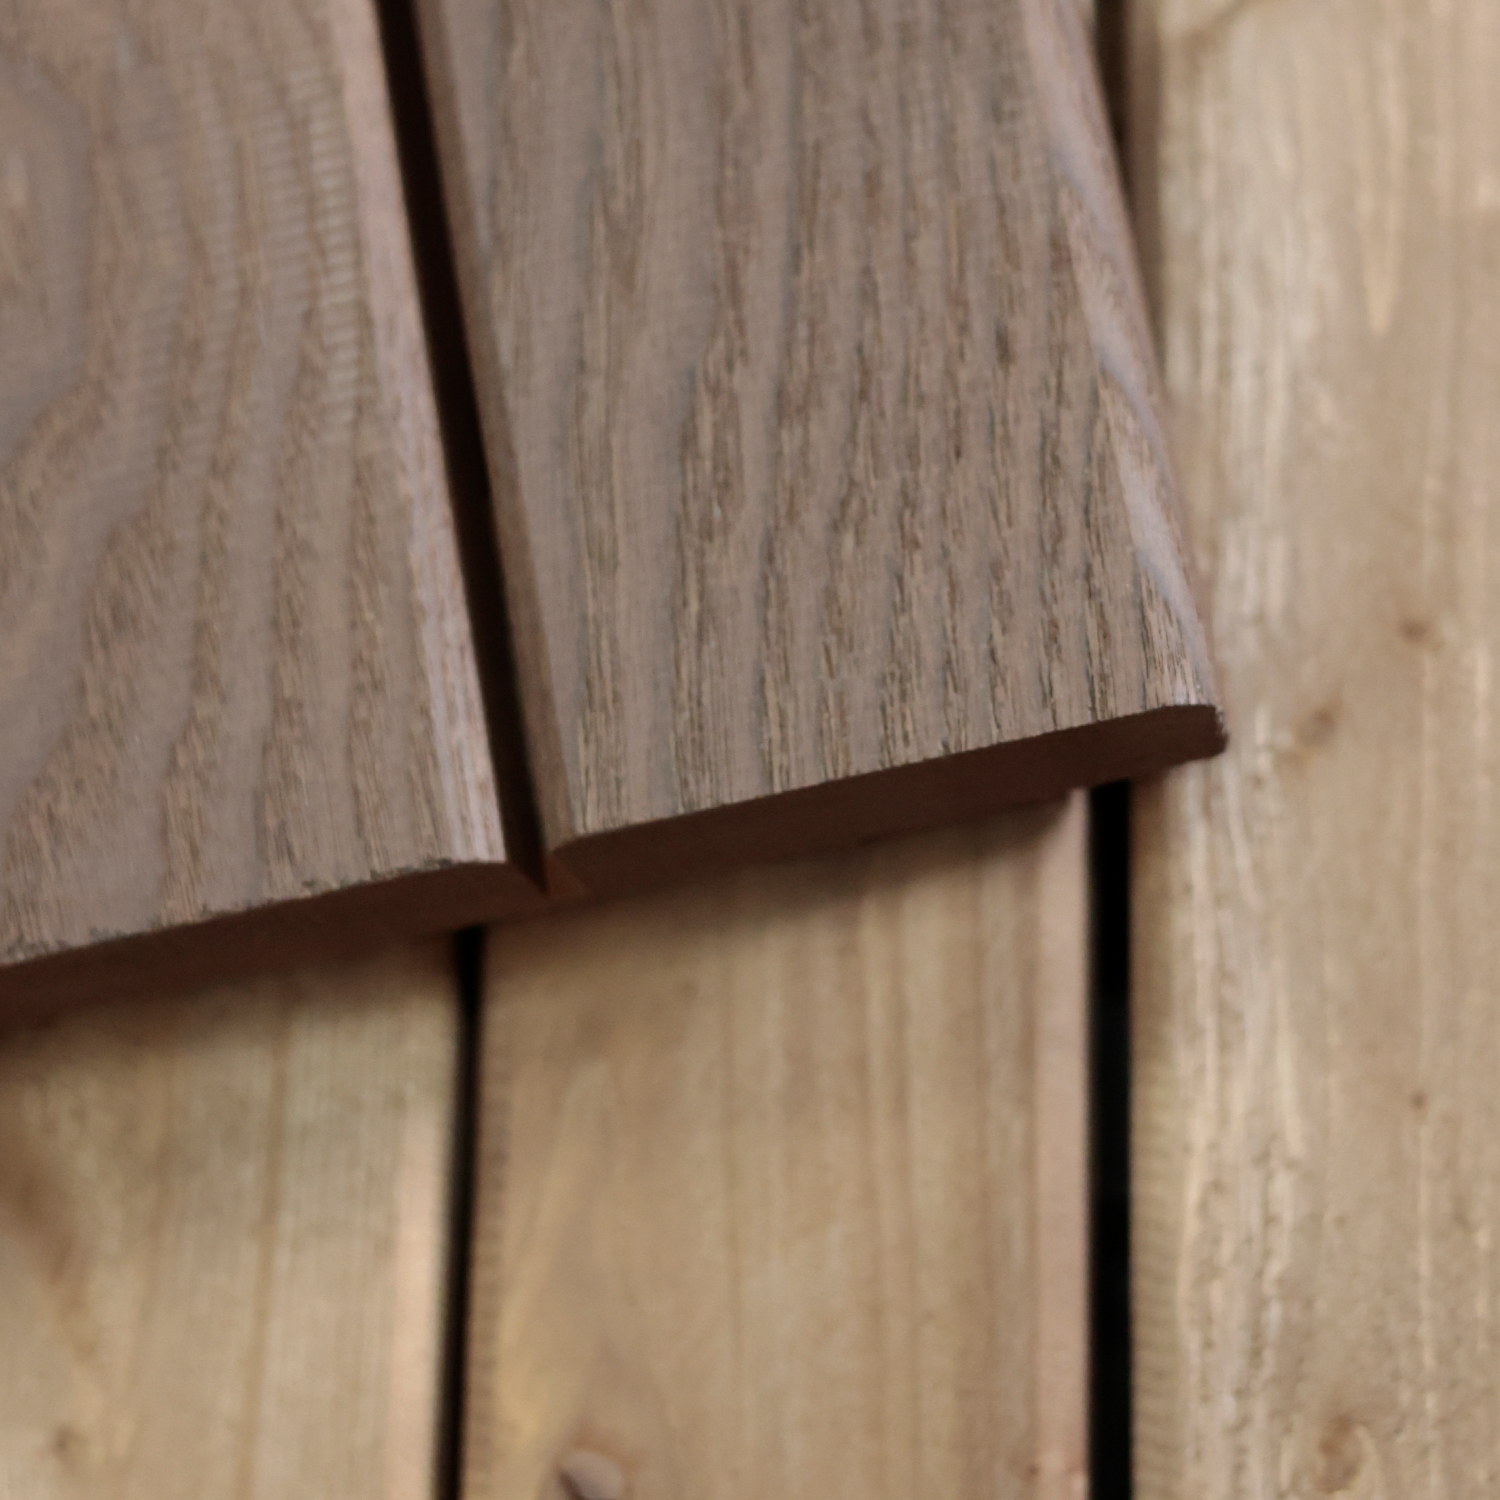
Surface deck boards are the top layer of a floating deck and play a major role in both look and performance. Materials like composite deck tiles are chosen for their clean finish and ability to handle moisture and sunlight with very little maintenance. Pressure treated pine offers a natural wood appearance with good strength for daily use. Alaskan Yellow Cedar is preferred for a more premium and refined look along with long-term durability. Tantimber thermal treated White Ash is another strong option, as the heat treatment process improves stability and makes it more resistant to moisture and wear.
2. Sub-Structure Framing
The sub-structure acts as the base support of the entire deck. Pressure treated pine is commonly used here because it provides strength and helps maintain the stability of the structure over time, especially in outdoor conditions.
3. Framing Supports (Depending on Selection)
Framing supports are used to keep the deck level and balanced. Adjustable pedestals made from polypropylene and rubber help in achieving proper height and alignment, especially on uneven surfaces. Dense rigid foam, such as extruded polystyrene, is also used as a lightweight support option that protects delicate surfaces while evenly distributing the load.
With the right mix of materials, a floating deck becomes strong, stable, and suitable for long-term outdoor use. Next, is a step-by-guide on how to build a weatherproof floating deck for outdoor spaces.
How to Build a Weatherproof Floating Deck?
A weatherproof floating deck is basically a simple way to create a strong outdoor floor without disturbing the surface underneath. With Designer Deck, this becomes easier as our deck tiles and system are made for quick setup and long-term outdoor use. Here is the step-by-step guide to build a floating deck for outdoor space:
Step 1: Check Surface Condition and Slope
Start by inspecting the rooftop, terrace, or patio carefully. The surface should already have a slight slope for water drainage. If water tends to collect in one area, fix that first before placing anything. Avoid working on a weak or cracked base, as it can affect stability later.
Step 2: Measure and Mark the Layout
Take exact measurements of the area and mark the layout using chalk or tape. This helps in deciding where the supports will go and keeps spacing consistent. Planning this properly saves time and avoids uneven placement.
Step 3: Place Supports at Correct Intervals
Set adjustable pedestals or foam blocks across the marked area. Adjustable pedestals are small support stands, usually made of plastic or rubber, that help hold the deck above the surface while allowing you to adjust the height as needed. Keep equal spacing between them so the weight is distributed properly. For heavier deck boards, reduce the gap between supports to avoid bending.
Step 4: Level Each Support Carefully
Adjust each pedestal so that all supports are at the same height. This step is important because it ensures the deck feels even while walking. A simple leveling tool can help achieve better accuracy.
Step 5: Install the Sub-Frame with Proper Alignment
Place the pressure treated frame over the supports and fix it using deck screws. Make sure the frame lines are straight and properly aligned. Good alignment helps the deck stay stable over time.
Step 6: Fix Deck Tiles or Boards Securely
Place the deck tiles or boards over the frame and fix them as required. Maintain small gaps between each tile so water can drain easily. This also helps in handling expansion due to weather changes.
Step 7: Check Drainage and Stability
Before finishing, pour a little water on the surface to check if it drains properly. Walk across the deck to ensure it feels stable. If anything feels uneven, make small adjustments.
Step 8: Clean and Finish the Surface
Clean the surface and remove any dust or marks. This final step gives the deck a neat and ready-to-use finish.
When attention is given to support placement, leveling, and drainage, the deck stays strong, balanced, and suitable for all weather conditions. For more help, consult a Designer Deck professional for the best results and smooth installation.
Frequently Asked Questions on Floating Decks
Ques: How much do floating decks cost?
Ans: The cost depends on the size of your space, the type of deck tiles, and the support system used. With Designer Deck, you can choose simple composite tile setups for a budget-friendly option or go for premium finishes for a more refined outdoor look.
Ques: What is the life expectancy of a floating deck?
Ans: A properly installed floating deck can last around 15 to 25 years. With top materials and correct installation, the deck stays durable because it is designed to handle weather changes and outdoor use.
Ques: Can floating decks be installed on rooftops or balconies?
Ans: Yes, floating decks are commonly used on rooftops and balconies. Since they do not require drilling into the surface, they help protect waterproof layers.
Ques: What materials are used in floating decks?
Ans: To build floating decks, you can usually use composite tiles, pressure treated wood, cedar, or thermally treated wood. We also provide supporting systems like pedestals, foam blocks, and sub-frames to keep the structure stable.
Ques: Are floating decks difficult to maintain?
Ans: Floating decks are quite easy to maintain as compared to traditional decks. Basic cleaning and occasional checking of tiles and supports are usually enough to keep them in good condition.
In Conclusion,
A floating deck is a simple and practical way to improve any rooftop, terrace, or patio without heavy construction work. With Designer Deck, you can explore different deck tiles, including composite, natural wood, and thermally treated options, along with various designs that suit modern outdoor spaces. Before starting your project, it is always helpful to compare materials and understand which tile works best for your space in terms of durability, look, and maintenance. If you are ready to begin your project, book an in-home consultation with Designer Deck to get expert guidance and the right solution for your outdoor area.