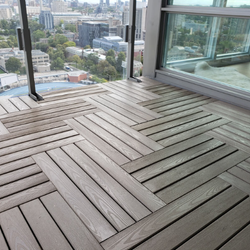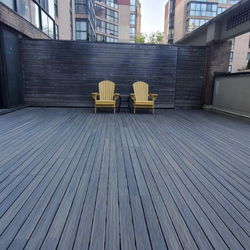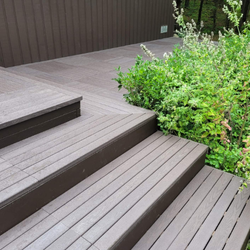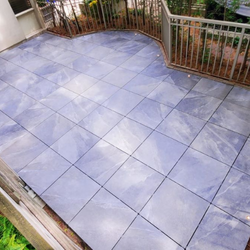
Would you like to browse our deck tile products and accessories?
Are you planning to upgrade your outdoor space but unsure where to start? With so many products to choose from, finding the right solution can feel overwhelming. From deck tiles to rooftop terraces, every outdoor project needs careful planning. Many homeowners know the look they want. However, they often struggle with materials, measurements, drainage, installation, and permit requirements. Making the right decisions early helps you create a functional and long-lasting outdoor space. Hire a Designer Deck Pro gives you expert guidance at every stage. Our team helps you choose the right products, plan your project, and stay within your budget.
Why Do Outdoor Projects Need More Planning Than You Might Think?
At Designer Deck, many customers want to upgrade their outdoor spaces but soon realize the project involves more than choosing deck tiles or flooring. Before installation begins, you should assess the existing surface, check drainage, take accurate measurements, review building guidelines, and select the right products.
For example, rooftop terraces often need adjustable deck pedestals to create a level surface and improve water drainage. Some porcelain tile projects require Safety Support Grid Systems, while others work better with composite wood deck tiles or recycled plastic deck tiles. We also help customers choose the right Porsets 1 cm, 2 cm, or 3 cm porcelain tiles for their project.
Planning your project from the start helps you avoid costly mistakes and unexpected delays. It also makes it easier to choose products that match your space, lifestyle, and design goals.
Which Outdoor Space Are You Planning to Upgrade?
One of the first things we ask customers is what type of outdoor space they are working with. The answer helps us recommend products, installation systems, and accessories that make sense for the project. Over the years, we have helped homeowners, contractors, property managers, and developers improve a wide variety of outdoor environments, each with its own unique requirements.
1. Condo Balconies
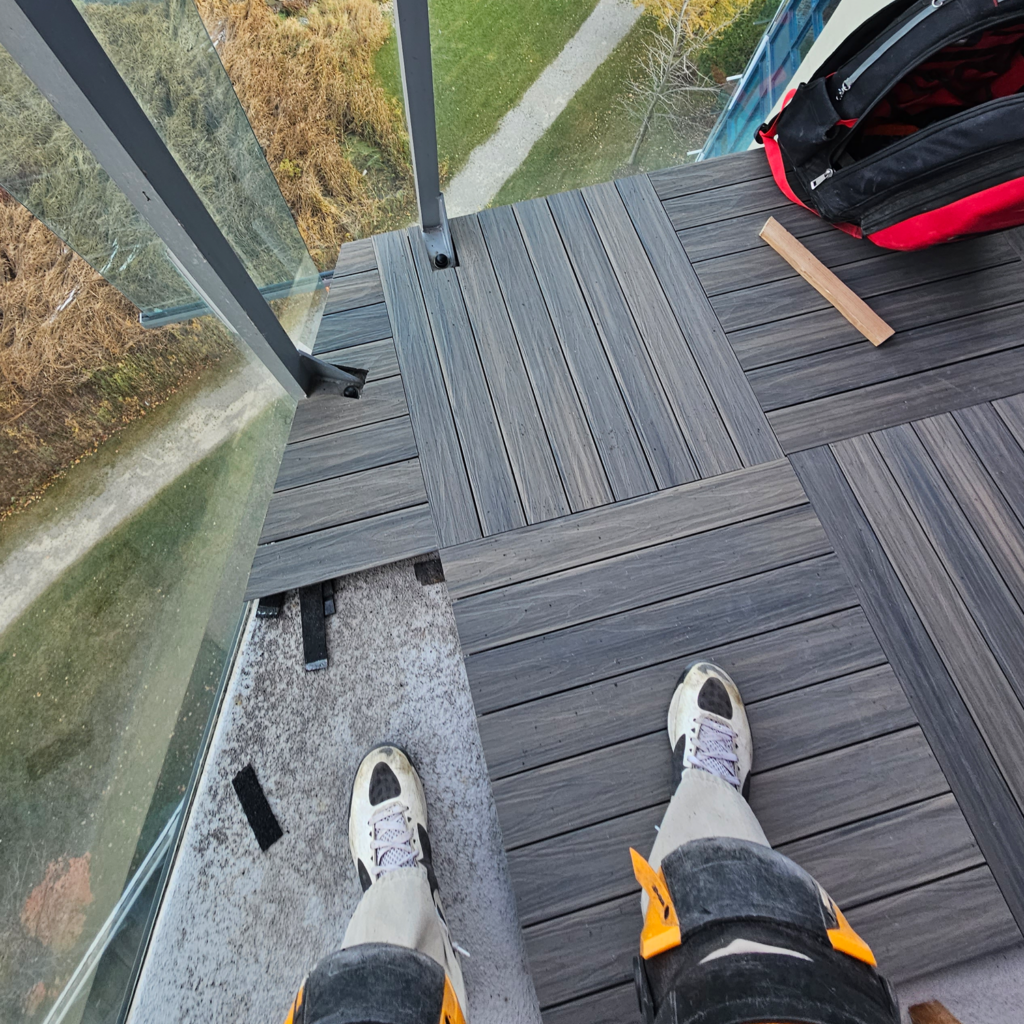
Condo balcony projects usually focus on turning a basic concrete surface into a more comfortable and finished outdoor area. This season, lighter tones and simple grid-style layouts are being used to make compact spaces feel more open. The aim is to improve everyday usability while keeping the design clean and low maintenance.
2. Rooftop Terraces
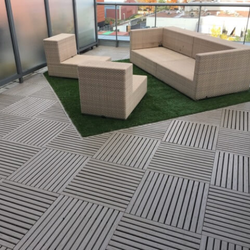
Rooftop terrace projects require attention to surface balance, drainage flow, and long-term stability. Modern designs are moving toward clean lines and structured finishes that work well with outdoor seating and open-air use. The focus is on creating a surface that feels stable, safe, and visually refined.
3. Floating Decks
For floating deck related projects, the trend is shifting toward simple defined zones that organize outdoor space without heavy construction. Clear boundaries, neat alignment, and easy-to-maintain surfaces are preferred. The goal is to create a usable outdoor area that feels structured yet flexible.
4. Courtyards, Garden Areas and Outdoor Gathering Spaces
These spaces are shaped by their surroundings, so the design usually follows existing landscaping, walkways, and architectural elements. Instead of focusing only on the surface, attention is given to how everything connects visually. Mixed patterns and balanced layouts are commonly used to keep the space natural and easy on the eye.
5. Commercial Outdoor Spaces
Commercial outdoor projects are designed with heavy use in mind, so durability and long-term performance become the main priorities. Clean, professional finishes are preferred in spaces like hotels, restaurants and office complexes. The overall approach stays practical while still maintaining a modern appearance.
And of course, not every project involves creating a completely new outdoor area. Many customers already have an existing surface that simply needs a fresh new look, which is where deck resurfacing solutions can provide an excellent alternative to replacement.
Designer Deck Resurfacing Solutions for Existing Outdoor Spaces
Deck resurfacing renews your existing outdoor deck without replacing the entire structure. It upgrades the top surface, improves durability, restores the deck’s appearance and enhances everyday functionality. At Designer Deck, we offer professional deck resurfacing and patio resurfacing solutions for a wide range of outdoor spaces.
1. Deck Resurfacing
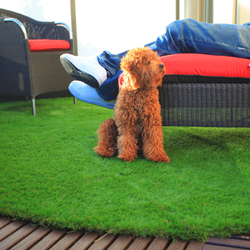
During deck resurfacing, the Designer Deck Pro team first inspects the existing structure to ensure it is stable. Next, we recommend the best surface system based on your project’s requirements. Choose porcelain tiles for a clean, modern finish, composite wood tiles for a warm, natural look, grass tile inserts to add greenery or natural stone tiles for a premium outdoor appearance. For high-traffic areas, we also recommend recycled rubber tiles to improve comfort and absorb impact. Our team installs every system to promote airflow beneath the surface and support proper drainage for long-lasting performance.
2. Patio Resurfacing
Patio resurfacing begins with a thorough inspection of the existing concrete base. Our team checks the slope, surface condition and drainage before recommending the best resurfacing solution. Natural stone pavers create a timeless outdoor look, while porcelain slabs deliver a clean, modern finish. Recycled composite tiles offer a durable, low-maintenance solution, grass grid tiles add natural greenery, and rubber outdoor tiles improve comfort and slip resistance in high-traffic areas. This approach transforms plain concrete into a functional, attractive and long-lasting outdoor space without removing the existing base.
Once you choose the right resurfacing solution, we create a detailed project plan. We review every measurement, material and installation requirement before work begins, ensuring a smooth installation and lasting results.
How Does Designer Deck’s Project Planning Process Works?
Planning a deck, balcony, rooftop or terrace starts with the right strategy. At Designer Deck, we support homeowners, builders, developers, and contractors through one streamlined planning process. Our team assesses your project requirements, recommends suitable products and develops a clear installation plan. This organized approach improves accuracy, reduces on-site challenges, and keeps every project on track from start to finish.
1. Understanding Project Requirements in Detail
Every project begins with a clear understanding of what needs to be achieved. This step focuses on the basic vision and purpose of the space. We gather details such as:
- Type of project: Whether it is a residential home, a commercial building, or a contractor-led execution project, as each category has different planning needs, material usage, and installation approach.
- Purpose of the space: Clear understanding of how the area will be used, such as a leisure sitting space, a high-traffic walking zone, or a functional flooring area designed for daily practical use.
- Design expectations: The preferred look and feel of the space, including modern style layouts, natural wood-like finishes, minimal clean designs, or a premium high-end appearance based on overall project vision.
- Specific requirements: Any special instructions shared by the client, builder, or site engineer regarding structure, layout adjustments, product selection, installation method, or site conditions.
This step ensures that the planning direction is correct from the beginning and matches the final expectation.
2. Detailed Site Information Collection
Accurate site data is one of the most important parts of the planning process. Without this, execution can face delays or errors. We collect:
- Exact surface measurements: Accurate length and width of the area along with total square footage or square meter calculation, which helps in planning material quantity and layout properly.
- Current site condition: Present surface status such as bare concrete base, existing old tiles, or any other installed finish, along with overall condition of the surface for installation readiness.
- Drainage flow and slope direction: Understanding how water naturally flows on the surface and identifying the slope direction to ensure proper drainage in outdoor spaces.
- Accessibility of the site: Ease of reaching the installation area for carrying materials, tools, and equipment, including stair access, lift availability, or direct entry points.
Along with this, clear site photographs are reviewed to understand real-time conditions before planning begins.
3. Product Selection and System Guidance
Once site details are clear, the next step is selecting the right decking system or surface solution. This includes:
- Recommended product type based on usage: Selection of decking system depending on load requirements such as light use areas like balconies, medium use spaces like residential terraces, or heavy load zones such as commercial outdoor areas.
- Material suitability for weather conditions and durability needs: Choosing materials that perform well under local weather exposure, including resistance to heat, rain, moisture, and long-term outdoor usage for better durability and stability.
- Surface finish options like texture, colour, and design pattern: Available finishing choices such as smooth or textured surfaces, wood-like or stone-inspired colours, and different layout patterns that match the overall design style of the space.
- Compatibility of system with the existing site base: Checking whether the selected decking system can be properly installed on the current surface such as concrete, tiles, or prepared sub-base without requiring major structural changes.
This step ensures that the selected solution is not only visually suitable but also long-lasting and practical for real use.
4. Technical Evaluation and Feasibility Check
Before moving into final planning, a technical review is carried out to ensure the project is safe and practical. This includes:
- Checking load-bearing capacity of the base surface: Assessing whether the existing surface can safely support the weight of deck tiles, furniture, and regular foot traffic without any risk to stability or structure.
- Identifying structural limitations, if any: Reviewing the site to understand any restrictions such as weak sections, cracks, or construction constraints that may affect installation or long-term performance.
- Evaluating installation method suitability: Deciding the most appropriate installation approach based on site conditions, whether it requires pedestal systems, interlocking tiles, or direct laying methods.
- Reviewing leveling requirements and base preparation needs: Checking if the surface is even or if adjustments like leveling, smoothing, or minor preparation work are needed before installation begins.
- Ensuring material performance in expected environmental conditions: Making sure the selected decking materials can withstand local weather conditions such as heat, rain, and moisture for long-term durability and stable performance.
This step helps prevent future issues and ensures the installation process runs smoothly.
5. Layout Planning and Design Alignment
After technical clearance, the layout and visual planning stage begins. In this step:
- Basic layout or arrangement of tiles/decking is planned: The overall pattern and placement of deck tiles or decking boards is planned according to the shape and size of the space, ensuring a balanced and practical layout.
- Direction, alignment, and spacing are decided: The installation direction is fixed along with proper alignment and spacing so the surface looks clean, uniform, and well-structured after completion.
- Design flow is matched with architectural or user requirements: The layout is coordinated with the building style and user expectations so the outdoor space feels naturally connected to the surrounding structure.
- Sketches or drawings are created for better understanding: Simple visual sketches or basic drawings are prepared to clearly show how the final installation will look before execution begins.
- Final visual structure is aligned with the overall project goal: The complete layout is refined to ensure it matches the intended use, design vision, and practical requirements of the project.
This step turns raw site data into a clear visual plan for execution.
6. Timeline Planning and Execution Scheduling
Every project requires proper time planning to ensure smooth progress without delays. We define:
- Expected start date based on readiness: The project start date is decided once the site is ready for installation, meaning measurements are confirmed, design is approved, and materials are finalized for dispatch.
- Material preparation and delivery timeline: After final approval, materials are prepared, packed, and scheduled for delivery based on project size and location, ensuring everything reaches the site on time.
- Installation duration based on project size: The installation time is planned according to the area and complexity of work, with smaller projects taking less time and larger spaces requiring a structured execution schedule.
- Coordination schedule between teams (client, contractor, installer): A clear communication plan is set between all parties involved so that updates, approvals, and on-site activities stay aligned throughout the project.
- Any buffer time required for site adjustments: Extra time is kept in the schedule to manage minor changes, site preparation needs, or unexpected adjustments without affecting the overall project flow.
This helps ensure all stakeholders stay aligned throughout the project.
7. Delivery, Coordination, and Execution Support
The final step focuses on making sure everything is ready for on-site execution. This includes:
- Material delivery planning and logistics coordination: Materials are scheduled and delivered in a planned manner based on project timeline, site location, and installation sequence to ensure everything arrives at the right time.
- Site readiness confirmation before installation: Before starting work, the site is checked to ensure it is fully prepared, with correct measurements, cleared surface, and required conditions for installation.
- Support for installation guidelines and method execution: Clear instructions and practical guidance are provided so that the installation process follows the correct method and maintains quality standards.
- On-site coordination if required for large or complex projects: For bigger projects, coordination is provided during execution to ensure smooth teamwork between installers, contractors, and site teams.
- Final alignment between planning and actual execution: The planned design, layout, and technical details are matched with on-site work to ensure the final outcome reflects the approved plan accurately.
This ensures the transition from planning to installation is smooth and controlled.
Ready to Start Your Project?
A successful outdoor space always begins with proper planning and complete information. Once the right details are collected, execution becomes faster, smoother, and more efficient. Designer Deck supports all types of projects with a clear, practical, and well-organized planning process designed to deliver long-term results.
Frequently Asked Questions on Designer Deck Process Planning
Ques: What should I share first when I contact Designer Deck?
You can start by sharing your space type like balcony, rooftop, terrace or garden. Even a short description helps us understand your requirements clearly.
Ques: Do I need to know the exact deck tile type before starting?
No, you don’t need to decide in advance. We help you choose between options like porcelain deck tiles, composite wood tiles or recycled plastic tiles based on your space.
Ques: I only have rough measurements. Can planning still start?
Yes, rough measurements are enough to begin the discussion. Final accurate sizing is confirmed later during the planning stage.
Ques: What if I don’t have any design ideas for my outdoor space?
That is completely fine, many clients start without a fixed idea. We suggest layouts and deck tile patterns based on your space and usage.
Ques: Will you check if my surface is suitable for deck tiles?
Yes, we always review your existing surface condition before suggesting any system. This ensures the deck tiles or system selected will work properly and last longer.
Ques: Do I need to worry about drainage before installing deck tiles?
No, drainage is part of our planning check. We ensure water flow is not blocked and the deck tile system works safely on your surface.
Ques: Can I use different types of deck tiles in one project?
Yes, in many projects we combine different deck tile styles for better design and function. This depends on your space layout and requirements.
Ques: What if my project is still under construction?
That is also fine, we can plan in advance. We coordinate based on your construction stage so deck tile installation happens at the right time.
Ques: How do I know which deck tile option is best for heavy use areas?
We guide you based on usage level like residential, commercial, or high-traffic areas. Heavy-use spaces usually need stronger and more durable deck tile systems.
In Conclusion,
Every outdoor space has unique requirements. At Designer Deck , our experienced team helps you plan every detail with confidence. We start with accurate measurements, recommend the right materials, assess drainage, and understand how you will use the space. This approach makes product selection, layout planning, and installation much easier. It also helps you avoid costly mistakes and ensures a smooth project from start to finish.
Ready to transform your balcony, patio, rooftop or terrace? Hire a Designer Deck Pro today. Share your project details and let our experts help you create a durable, functional and beautifully designed outdoor space.