Would you like to browse our deck tile products and accessories?
Installing interlocking deck tiles over concrete is one of the simpler home improvements you can do — no permits, no adhesive, no framing, no power tools for most jobs. But there are still a few steps that separate a clean professional-looking installation from a job that looks rushed.
Here is the full step-by-step, whether you are considering DIY or just want to understand what a quality installer will do when they arrive.
Step 1: Assess the Surface
Before any tile touches the concrete, walk the space and note:
- Overall dimensions (measure twice)
- Slope direction and any low spots
- Drains and drainage channels
- Railings, posts, and fixed objects that tiles will need to cut around
- Window-washing anchors, electrical boxes, and utility access points
- Any cracks, spalling, or damage that needs attention first
Designer Deck offers free in-home consultations across Ontario that include this assessment, even if you are doing the install yourself.
Step 2: Clean the Concrete
Sweep thoroughly. Remove any loose debris, leaves, pebbles, or anything else on the slab. A quick pressure wash is ideal on rooftops and patios. For condo balconies, a broom and a hose is usually enough. Do not install over an actively wet slab — let it dry first.
Step 3: Handle Any Necessary Repairs
Minor cracks are fine — deck tiles cover them. Major spalling, active membrane leaks, or structural cracks need to be fixed before installation. If you are not sure, have a roofing contractor or structural engineer look at it. Designer Deck can refer qualified professionals.
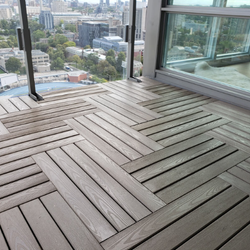
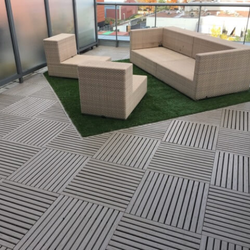
Step 4: Plan Your Layout
Start with a plan, not a random first tile. Most installations look best when:
- The pattern runs parallel to the longest edge (usually the railing)
- Cut tiles end up at the back or against a wall, not at the most visible edge
- Tile direction is consistent across the whole space
- Any mix-and-match design is sketched out in advance
For rooftops with irregular shapes, plan the layout on graph paper before buying tiles. A quality installer does this as a matter of course.
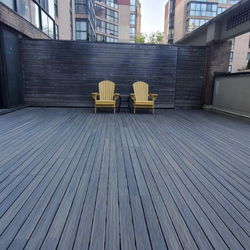
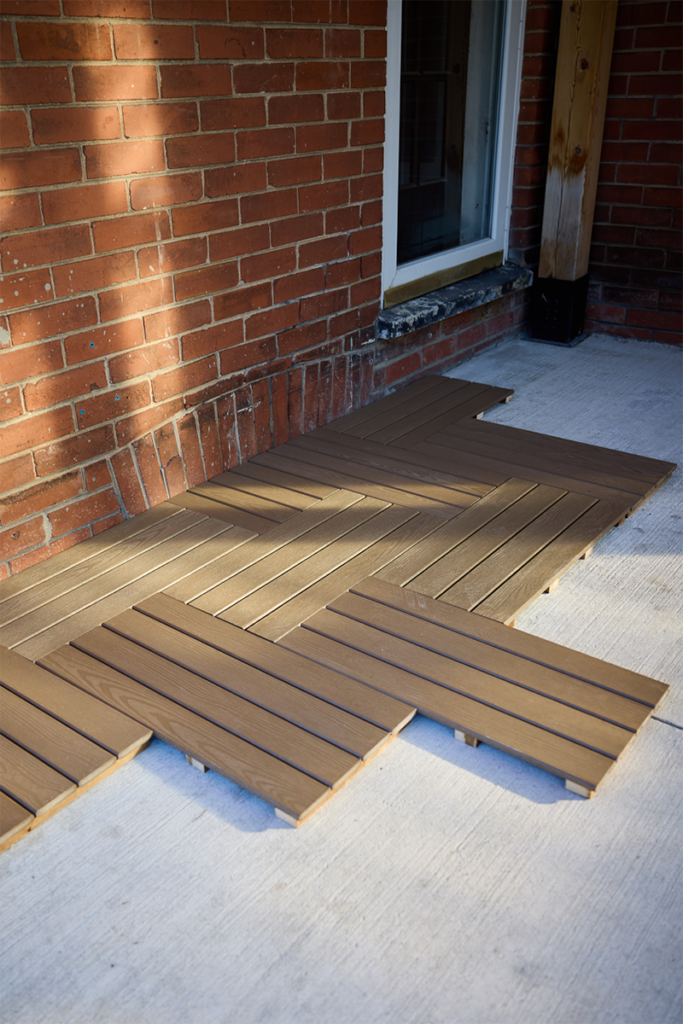
Step 5: Start at the Most Visible Edge
Lay your first row along the railing or the most visible edge, working inward. This ensures your cut tiles — which are inevitable around obstacles — end up in less visible spots.
Step 6: Snap the Tiles Together
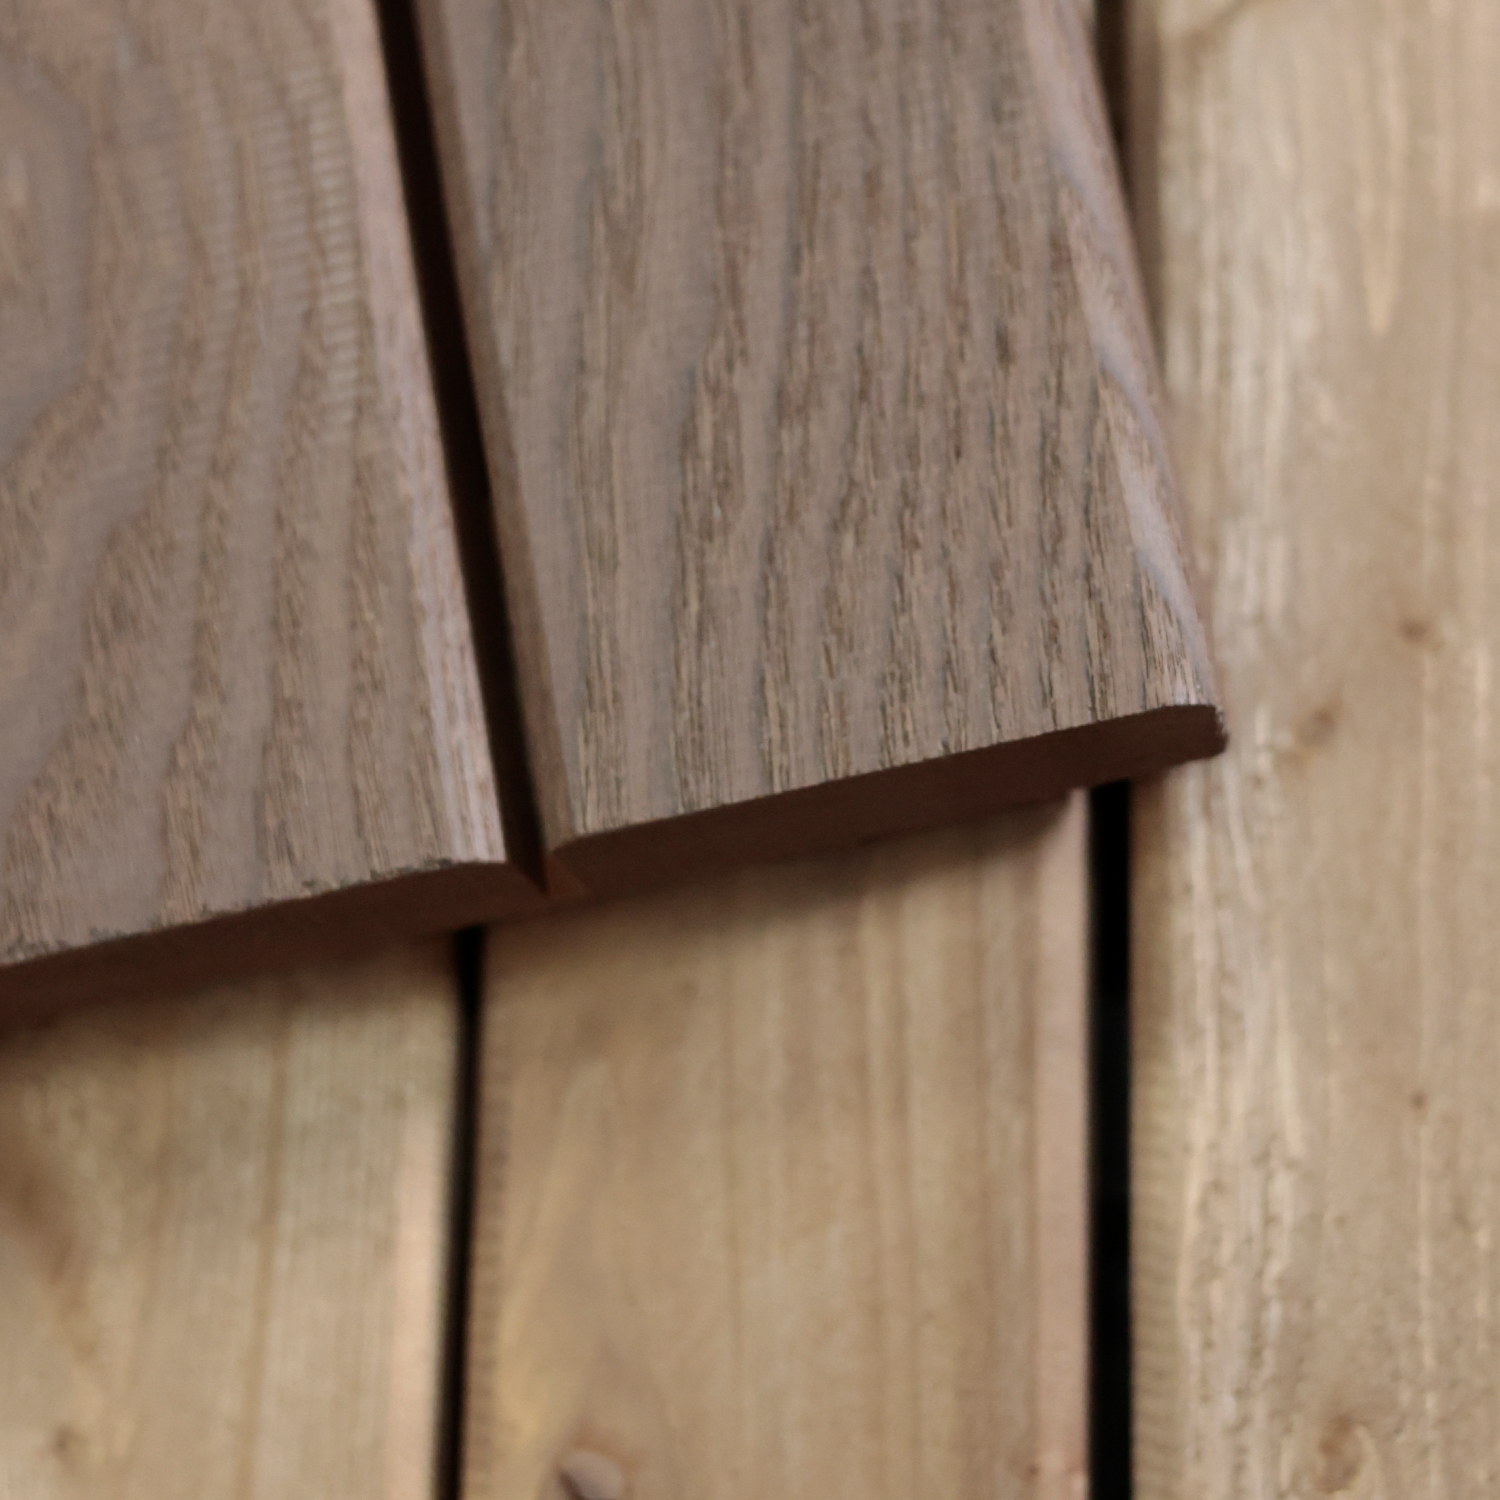
Designer Deck tiles interlock with a tab-and-slot system. Press them together firmly until you hear or feel them click. The tiles should lie flat against each other with no visible gap between edges.
On a slightly sloped surface, follow the slope with the tiles. Do not try to level them artificially — the riser system handles drainage and minor slope compensation automatically.
Step 7: Cut Tiles to Fit Around Obstacles
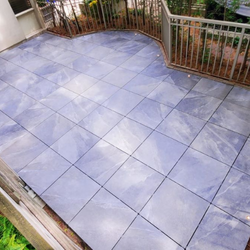
Around railings, drains, and fixed objects, tiles will need to be cut. For DIY, a jigsaw works on all materials (with the right blade). Cedar and pressure-treated wood cut easily. WPC cuts cleanly but should have the cut edge sealed with a matching sealant to prevent moisture intrusion. Recycled plastic cuts cleanly. Porcelain requires a wet saw and is best left to professionals.
For most condo balconies, the cuts around rail posts are the only cuts needed, and a quality installer does these in about ten minutes per post.
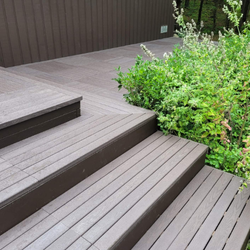
Step 8: Finish the Perimeter
Designer Deck offers perimeter trim pieces and ramp edges for clean finishes where the tiled area meets the wall, railing, or unfinished edge. These also reduce trip hazards at transitions.
Step 9: Test the Finished Surface
Walk the entire installation. Every tile should feel firm underfoot. Any tile that rocks or shifts means something underneath needs attention. Run water to check drainage — it should flow underneath the tiles toward the drains without pooling on the surface.

When to Choose Professional Installation?
Simple square or rectangular balconies with no obstacles are good DIY candidates. Consider professional installation when:
- The space is larger than 200 square feet
- The shape is irregular or has many obstacles
- Porcelain tiles are being used (wet saw required)
- You are doing a mix-and-match pattern
- The rooftop requires riser upgrades or structural supports
- You want the manufacturer warranty to cover installation
How Long Does Professional Installation Take?
- Small condo balcony (under 100 sq ft): half a day
- Medium balcony or small terrace (100–300 sq ft): one day
- Large rooftop (300–800 sq ft): one to two days
- Very large commercial rooftop: two to five days depending on scope
Tools You Will Need (for DIY)
- Tape measure
- Rubber mallet
- Jigsaw or appropriate saw for cuts
- Pencil or marker for cut lines
- Broom
- Safety glasses and gloves
- Edge sealant for WPC cut edges
Frequently Asked Questions
Ques: Can I install deck tiles over a damaged concrete balcony?
Ans: Minor cracks and surface imperfections are fine — the tiles cover them. Major structural damage or active membrane leaks should be repaired first.
Ques: Do I need to level the concrete first?
Ans: No. Designer Deck tiles with integrated risers compensate for minor unevenness and allow water to flow underneath regardless of the slab’s exact slope.
Ques: Can I install on top of an existing deck or other flooring?
Ans: In most cases yes, provided the existing surface is solid, flat enough, and drains properly. During a free consultation we can tell you whether removal is needed first.
Ques: How do I handle drain covers?
Ans: Tiles cut around drain covers to leave them fully accessible. Never cover a drain completely. A professional installer does this as a standard part of the job.